I can’t believe that worked! ðŸ¤©

altered art, art, artist, assemblage art, collage, DIY, metal embossing, mixed media, mould making, recycled products, tutorial, upcycle

I can’t believe this worked! I used an old roll of Aliminium Foil hidden at the back of the kitchen cupboard to make this DIY book cover!

So easy: I layered the foil, embossed it, painted it, applied accents and other fancy stuff. Perfect and oh, so cheap DIY!

Painting the Acrylic colour base directly onto the Aliminium Foil embossed surface;
Rubbing on metallic accent colour; use multiple shades of Gold (ranging from Champagne Gold, Aztec Gold to Old Gold) to add depth;
This moulded dragonfly is created with Hot Glue in a silicon mould; sprayed Black and accented with Golds as well.

I am still in disbelief this worked!!!

#mixedmedia #mixedmediaart #mixedmediaartwork #mixedmediaartist #crafting #embossing #metalembossing #aluminiumfoil  #diydecoration #artjournal #visualdiary #bookcover #artinspiration, #artiststudio #creativetime #metime #friends #instaart #art #artist #dailyart  #creativeart #artistlife #collage

Tutorial of Encaustic Experimentation

art, drawing, encaustic wax, painting, tutorial

wpid-2015-10-07_08.50.10.jpg

The dilemma & challenges of painting water; harnessing a medium that acts like water – but maintains the visual stasis, once the product has dried;

[…]and so, *fanfare music* introducing Encaustic Wax Painting…

***the final effect is quite beautiful; the intrinsic blending & conjoining of multiple shades is, well…magical.

With Encaustic Waxes, you can attempt to manipulate the final meshing of the colours – there is also a heavy influence of chaos and pure chance; a reliance on the medium’s properties and its’ reactions to the applied techniques. I love when the medium takes over and the artist (me), becomes a mere facilitator.

It may seem like extra work…but, trust me, you will need a large range of colours; vastly differing from light to dark. This will ensure a more dramatic visual impact.

MAKING THE WAX IS QUITE SIMPLE…

TOOLS & SUPPLIES:

Flat hotplate

Foil piecases (small)

Metal spoons

Old paint Brushes

2.5 cubic inches of beeswax (per colour)

Oil paints in chosen colours (1 Teaspoon per colour)

1 Tablespoon of Wax Medium per colour (here)

STEPS:

STEP 1) In each of the foil casings place:

  • 2.5 cubic inches of beeswax (per colour)
  • Oil paints in chosen colours (1 Teaspoon per colour)
  • 1 Tablespoon of Wax Medium per colour

STEP 2) Put all the prepped foil-casings onto the hotplate (on a low-medium temp) & allow to melt.

STEP 3) Stir them all, using a metal spoon (ensure you’re cleaning your utensil in-between colours; stir until all ingredients are mixed thoroughly (***you will need to continue mixing the waxes throughout the process; ensuring each colour is evenly mixed).

ec1

***The canvas you wish to use must be able to handle high temperatures (wood is perfect).

PAINTING WITH ENCAUSTIC WAXES…

  1. When applying the wax, don’t be shy; liberally apply, because too little & the wax merely soaks into the wood; because wood absorbs liquid up to its’ natural saturation point)
  2. You should apply the lightest layer first – & darkest last…followed by the addition of a few highlights of the lightest colour (after-the-fact). You should generally align the lightest colour, next to large patches of the darkest colour.
  3. Once all layers are applied; I had concocted twelve colours in total & if you counted the colour layers in a single spot, you would find, perhaps six-seven colours overlapped each other…the total wax thickness will be about 5-6mm thick. *THE OVERALL EFFECT, AT THIS POINT, WILL LOOK CHUNKY & UNFINISHED – DON’T WORRY, THIS IS ABOUT TO CHANGE…                                                                          ec2
  4. You can add more accents, shadows & highlights at any point.
  5. Continue warming & blending the wax, section-by-section, until complete. Using a heat gun (on the lowest setting), begin to warm the wax in 30cm squared sections. Keep the heat gun at a distance and try to heat the wax evenly.
  6. Once the wax begins to glisten slightly, bring the heat gun in close to the surface and start manipulating & blending the colours with the force of the hot air & utilising gravity, by changing the angle of the canvas.

ec4ec6ec5ec11ec10

(***art pieces depicted are unfinished)

…the artistic hoarding process…

art, drawing, tutorial

2015-10-11_21.54.24

As an artist…I am guilty of secret hoarding; a universal happening of ‘just-in-case’. So, when I spied the department of one of my colleagues (essentially engaging in criminal behaviour), binning an invaluable product…well, I was aghast! I had caught them in a blasphemous act, disposing piles of newspapers. Newspapers??? Who cares? Right?! Well, these newspapers were gold; printed more than a hundred years ago.

There are all these tutorials for ageing, staining, & distressing paper…and yet, here were papers that wore a hundred years; beautifully bedraggled & perfectly tainted with time.

They.Were.Beautiful.

The edges had crumbled away; they were so fragile, that they crackled in protest, if you so much as looked at them sideways.

Clearly my interest gleamed on my face and so, as humans are want to do…if interest is shown, well, interest is warranted. However, I silver-tongued and wrangled my way into possession of the vast majority.

I cackled like Golem. My precious.

With glee, I skipped home with my newly acquired treasure. So excited…and then, nothing…but, I had them, stored safely; for ‘just-in-case’.

…and today? Is, one of those cases. I spend hours, upon hours; followed by afull day and wait…another one too.

‘Where was I? Oh, yeah…’

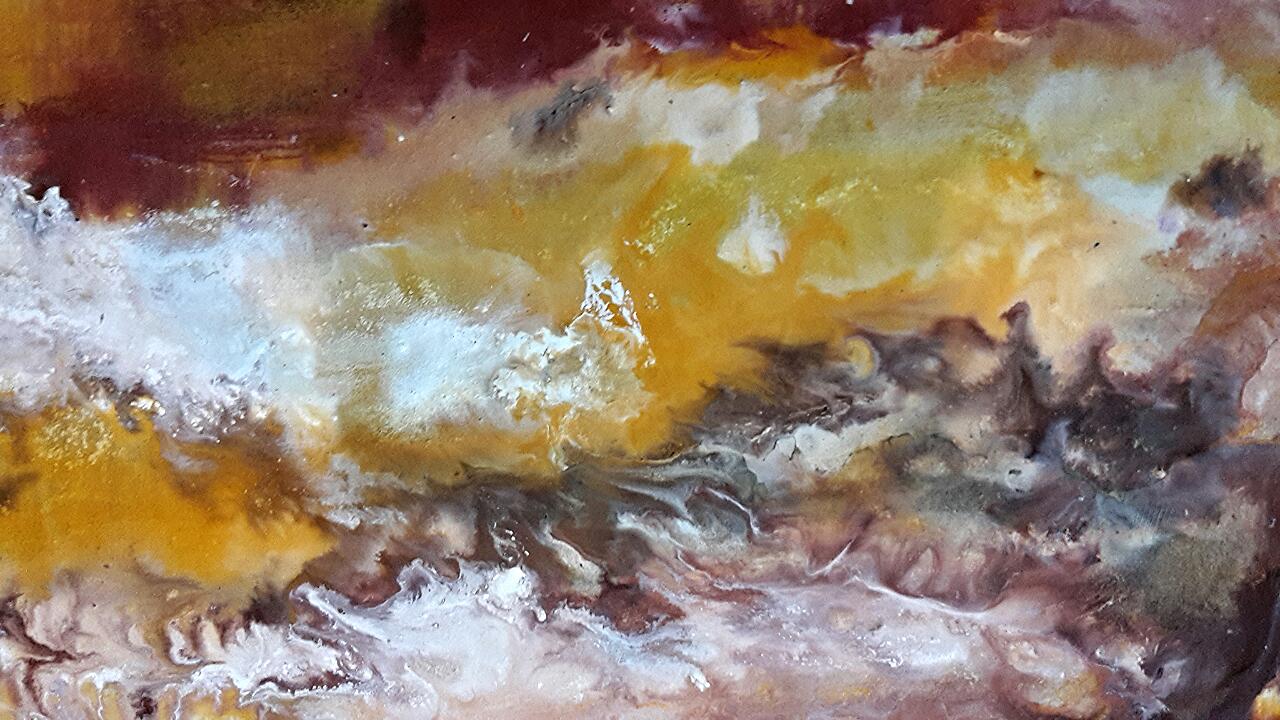
…days staining, dyeing, distressing & otherwise completely bastardising; rendering the white canvas completely unrecognisable…all to, create my own version of a blank canvas. Half my life wiled away, just to end up…right at the beginning. FML.

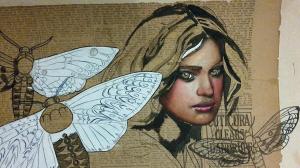
All this, however, wasn’t part of my grand artistic plan; as, I had completely forgotten about my vintage bounty, and it was only by happenstance that I stumbled upon their existence. Again. And, so, I started cutting them up (with my husband protesting loudly, about the sacrilegious nature of my actions…).

Considerations of the paper’s fragility and transient nature needs to be addressed; and, so, each piece needs o be supported and mounted. The mounting process involves glue of some description; with the super absorbent state of the paper, this meant that I needed to be extra careful about my choice, as the chosen glue could impact the end surface of the intended canvas & affect the adhesion of the medium.

Also, the paper’s fragility means that choosing the point size of the pen/pencil becomes a consideration, as the finer a point, the more likely it will cut the paper, all the way through to the backing.

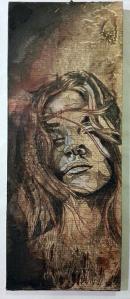
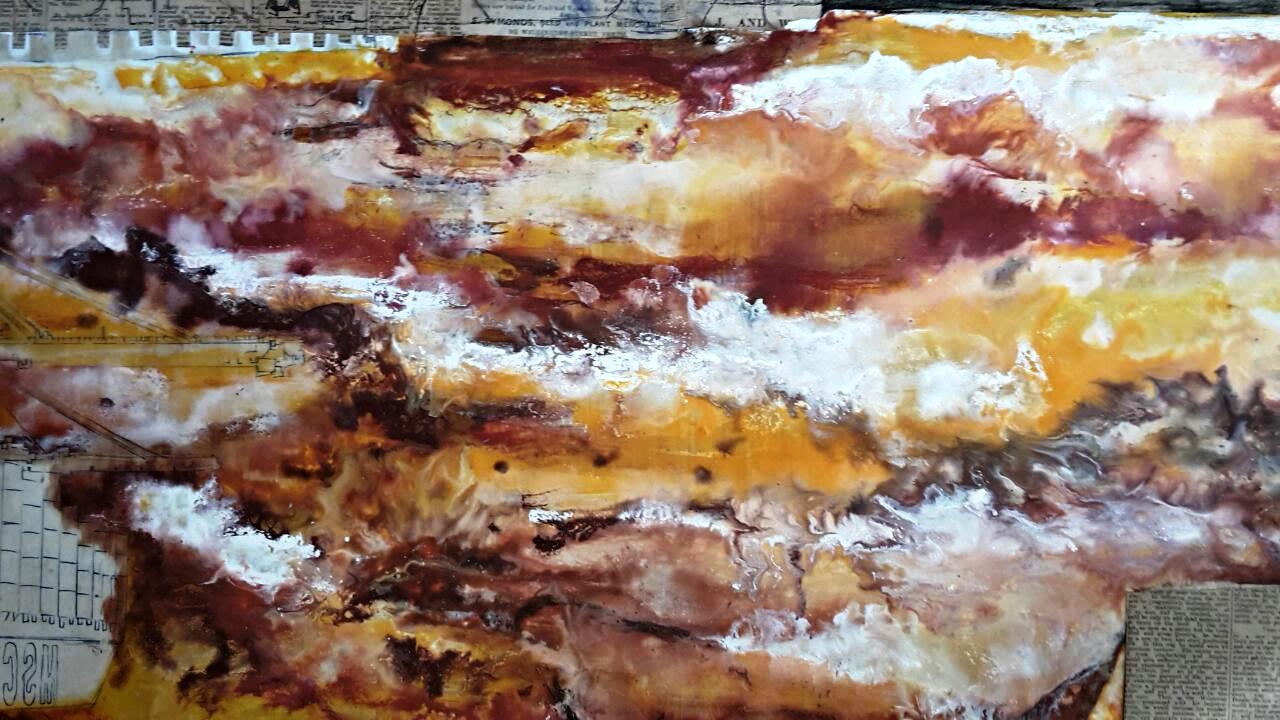
The rich, authentic discolouration of the paper is, well…exquisite. The existing base colour will impact your choice of colour palette; as you can use the existing canvas colour as a representation of skin. So, consideration of paint opacity isn’t necessary; however, you must use thin, lightly coloured washes, building up the colour in layers.

The last consideration is unusual…read through the text of your chosen piece of newsprint, as some of the treatments & tinctures available at the turn of the 20thC are, concerningly curious…

wpid-2015-10-07_08.51.12.jpgwpid-2015-10-07_08.50.34.jpgwpid-2015-10-07_08.50.52.jpg